Jamberry. Sounds like something that would be delicious on toast. I had never even heard of nail wraps before a friend invited me to join her online party. Unlike traditional ways of earning extra income, this sales technique is accomplished through social media. Which means that not only don’t you have to leave your house, you don’t even have to wear real clothes! Another big bonus of this trend, is that you can enjoy the benefits of a sales party from anywhere. This particular party was spread throughout a week; which gave everyone ample opportunity to win prizes and look over the vast array of styles available for order.
Let me pause for a minute here to say that I’m the kind of girl who only remembers to cut her nails when they get jagged and catch on things. I also have horribly dry skin and wash my hands about a bazillion times a day. When I say I’m hard on my nails, I mean it! Due to a damaged toenail, and a tendency to go barefoot, I discovered that I am a sucker for nail polish. I love the fun colors. I don’t, however, love anything else about dealing with painting nails. Salons are expensive and stinky. When I do manage to slap some on my toes (no matter how careful I am,) I always mess up a bunch of times until I feel they’re reasonably covered. Then, of course, the general busyness of life steps in to smear, dent, scratch, and chip bits of color away until I shamefully remove the remnants and start the process over.

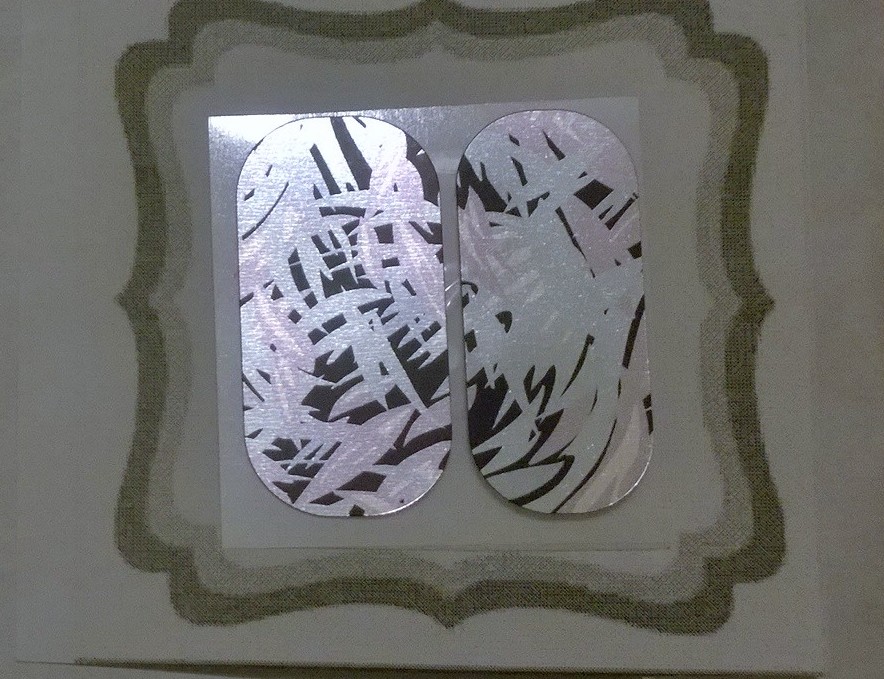
Pedi Pack – Enough Wraps To Cover Your Toes
Don’t even get me started on my fingernails. In fact, due to food prep, cooking, typing, kids, and dogs, I pretty much never bother with painting my fingernails at all.
Thinking there had to be a better way, I jumped at the chance to learn more. Even though I was introduced to this product through a party, you don’t have to be involved in one to order. You can also attend a party without obligation to buy. In fact, Your Jamberry Consultant will send you a free sample just for asking. I did. Lucky for me, while it was on its way I won a Pedi Pack!

Application Kit With Nail Oil
Now, down to business. First, I got all the things together that I would need to apply the wraps. The tools I needed to do the actual application were a cuticle pusher (they send you one with the free sample,) tweezers, alcohol pads, cuticle scissors, nail file, and a hair dryer. Clippers, nippers, and cuticle oil are also highly recommended, especially for your nail prep. One of the first things you will notice about Jamberry is that there is an overwhelming amount of information available. The second thing you’ll probably notice is that throughout all the different methods offered, nail prep is stressed as the most important first step. Here is the video I followed for my prep. After gathering all the items I would need to give wraps (or Jams) a try, I watched this video. For more information, here are the official application and tips & tricks videos.
Was it easy? Well, no. At least, not at first. This is a very different process from using polish. I admit I was a little intimidated and watched each of my chosen videos a couple of times before taking the next step. This is a company that seems to understand that everyone is unique, and that there isn’t one method that applies to all people. A concept that appeals to the part of me that believes that the only thing that everyone needs to do, is find what works for them. In any case, your Jamberry Consultant is guaranteed to provide you with answers to all your questions. Yet, all the answers and videos in the world, are nothing compared to practical experience. By the time I had finished one foot, I had realized a few things:
The old builder’s adage of ‘measure twice, cut once’ definitely applies here.
Heat is your friend.
You can turn the sheet over to see a little better when trimming.
If necessary, you can stop and start with no problems.
Want more reasons why so many people are turning to nail wraps?
Pros:
No drying time or noxious fumes.
No need to use nail polish remover.
Sheets of wraps are printed as ordered; so no overstock waste.
You can have intricate designs without any added effort or expense.
You don’t have to purchase a lot of tools or extras in order to use them.
Lasts up to 2 weeks on fingernails and 4-6 weeks on toenails.*
Makes weak nails strong.*
Easy to take off (with cuticle oil and a single use dental flosser) without damaging nails.*
Cons:
There is a learning curve to learning how to apply them to your nails.
There are nearly as many Jamberry related videos as there are wrap patterns, some of them are old and contain info that is outdated.
Some people have had bad experiences with wraps damaging their nail or not adhering properly.
If you make a mistake in trimming the wrap, you could lose out – the reality, though, is that you can still use tiny pieces for other nails, creative overlapping, and having different styles on one or more nails gives you more ways to be creative with your style.
I recently had a chance to ask Jamberry Consultant, Elizabeth King, a few questions:
MAOM: How was Jamberry started?
EK: Jamberry Nails started with three sisters who possess distinct personal tastes, but share a love for style. After an expensive afternoon together at the nail salon, Lyndsey, Christy and Keri vowed to find a simpler, more cost effective way to keep their hands looking polished, while still spending time together. After lots of trial and error, the proprietary nail wraps of Jamberry Nails launched in late 2010. The DIY, at-home application and incredible variety of designs caught on quickly and sales soared. Since then, Jamberry Nail wraps have been featured in In Style, Nail It!, Health, Self, Fitness, Style Watch, Aventura, NYLON, Denver Life, People, Parents, Marie Claire, Nails, Life & Style, Bisous, Style, Today, TotalBeauty, Seventeen, The Blush, Oh So Glam, The Curvy Fashionista, Nails Magazine, WWD, Daily Candy, Chicago Magazine, Tosser, Teen Vogue, Poor Little It Girl, The Marcy Stop, Emily’s Reviews & Giveaways, Chic & Green, and Sprinkles in Springs.
MAOM: How long does it take to receive your order?
EK: It can take from 6-10 business days to get your order, but it is usually way faster!
MAOM: Do the wraps ever become unusable? What is their shelf-life?
EK: As long as the wraps are kept in a cool and dry place, they can last for years.
MAOM: Do you have to be involved in a party to get a free sample or to be able to order?
EK: No! You can ask your Jamberry Consultant for a sample and orders can be initiated any time online.
MAOM: How do you know when your wraps are ready to come off? Will they start to peel?
EK: You shouldn’t leave a set of wraps on for more than 2 weeks on fingers and 6 weeks on toes. After about 2 weeks they may start to peel, but usually it is the growth that bothers most people. I end up taking them off early, because I want to see a new pattern.
MAOM: Why 2 weeks on fingers, but 6 weeks on toes?
EK: Toenails tend to grow slower, so you can wear them longer.
MAOM: What kinds of problems do people have with the wraps?
EK: Most problems happen due to improper nail prep, or not trimming the wrap enough so that they touch the skin and don’t seal properly. Nail prep is extremely important, but finding the right removal method to prevent damage. NEVER peel your Jams! Always loosen slowly with using some kind of solvent, like oil or acetone, and a tool. If someone has ever had damage to their nails, they should apply the Jamberry Strengthening Base before applying a wrap.
MAOM: What would you say to someone who is interested, but never tried Jamberry?
EK: I loved having my nails done at the salon, but my wallet sure didn’t love the prices with all the high maintenance they required-not to mention the damage it did to my nails. Once I found Jamberry, I never wanted to go back again! Although you can totally wear our wraps over acrylics and gels, If you take the cost of a sheet ($15) and break it down to the cost of one application, you could have a salon quality manicure for $3.75! Can you believe it?

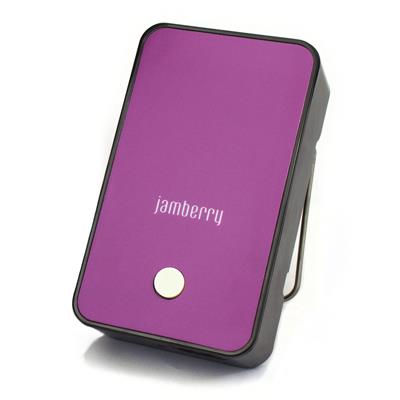
New Jamberry Mini-Heater
MAOM: Do you have any more info on Jamberry?
EK: Here is just a quick run-down on all Jamberry has to offer. First, we have our wraps. Over 300 different designs, all made in the USA, vegan, cruelty-free, gluten-free, latex-free, toxin-free, plus the Nail Art Studio where you can create your own custom designs (don’t forget ‘Buy 3, Get 1 Free’!) They also come in kid sizes. Next, we have our gorgeous, toxin-free, latex-free, cruelty-free, gluten-free, vegan, lacquers. They are salon-quality, quick to dry, slow to chip and offer good coverage. We also sell Beauty Boost, a biotin rich multi-vitamin that is designed with optimal nail health in mind. Don’t forget all the necessary application tools in cute little pouches (awesome gift idea!) We sell cuticle oil separately or with the application kits, and have the New Jamberry Mini Heater. Be sure to check out the Indulgence Hand Care set and the Nourish Lotion. Pamper yourself with our amazing hand care set and indulge in softness. We also have gift certificates, which are always the perfect gift! Also, if you’re interested in discounted and free product you can host, or join! Hosting is fun and free and if your friends buy from your party you can earn a lot of free and discounted product. Joining is equally amazing — it’s fun, easy, and you can do as much of your work online as you like, making it an excellent choice for stay-at-home parents, students, and people with other jobs. You get an awesome team supporting you, and you can make the business whatever you need it to be. Want to support a weekly coffee habit? No problem! Want to go bigger and pay your mortgage/rent, buy a new vehicle, or quit your day job? Jamberry can help you do any of those things and I personally know many women who are doing all that and more with Jamberry! Please, contact me with any questions and to get a free sample! Come join the nail revolution!

My First Jamberry Pedicure
After having lived with my, admittedly, less-than-superior pedicure for a few days, through showers, sleeping, socks and shoes, the conclusion is that they look exactly the same as when I applied them. I can also say that having done it once, I’m anxious to remove them and try again.
*I will have an update in a few weeks with my review of these aspects.