 There are a few restaurants that serve this breakfast (also known as a German apple pancake), but my memories of this dish are from my Grandma’s house when I was little. Sometimes, she would make a chocolate version! Oddly, the recipe I use was given to me for a gourmet foods class I took in high school. Not a Home Economics class, but an actual cooking class, which I loved.
Though amazingly impressive, it’s actually quite easy to make. For me, the most difficult part is preparing the apples…which really isn’t difficult at all, just time consuming. I highly recommend you try this at least once though, as it is worth every effort!
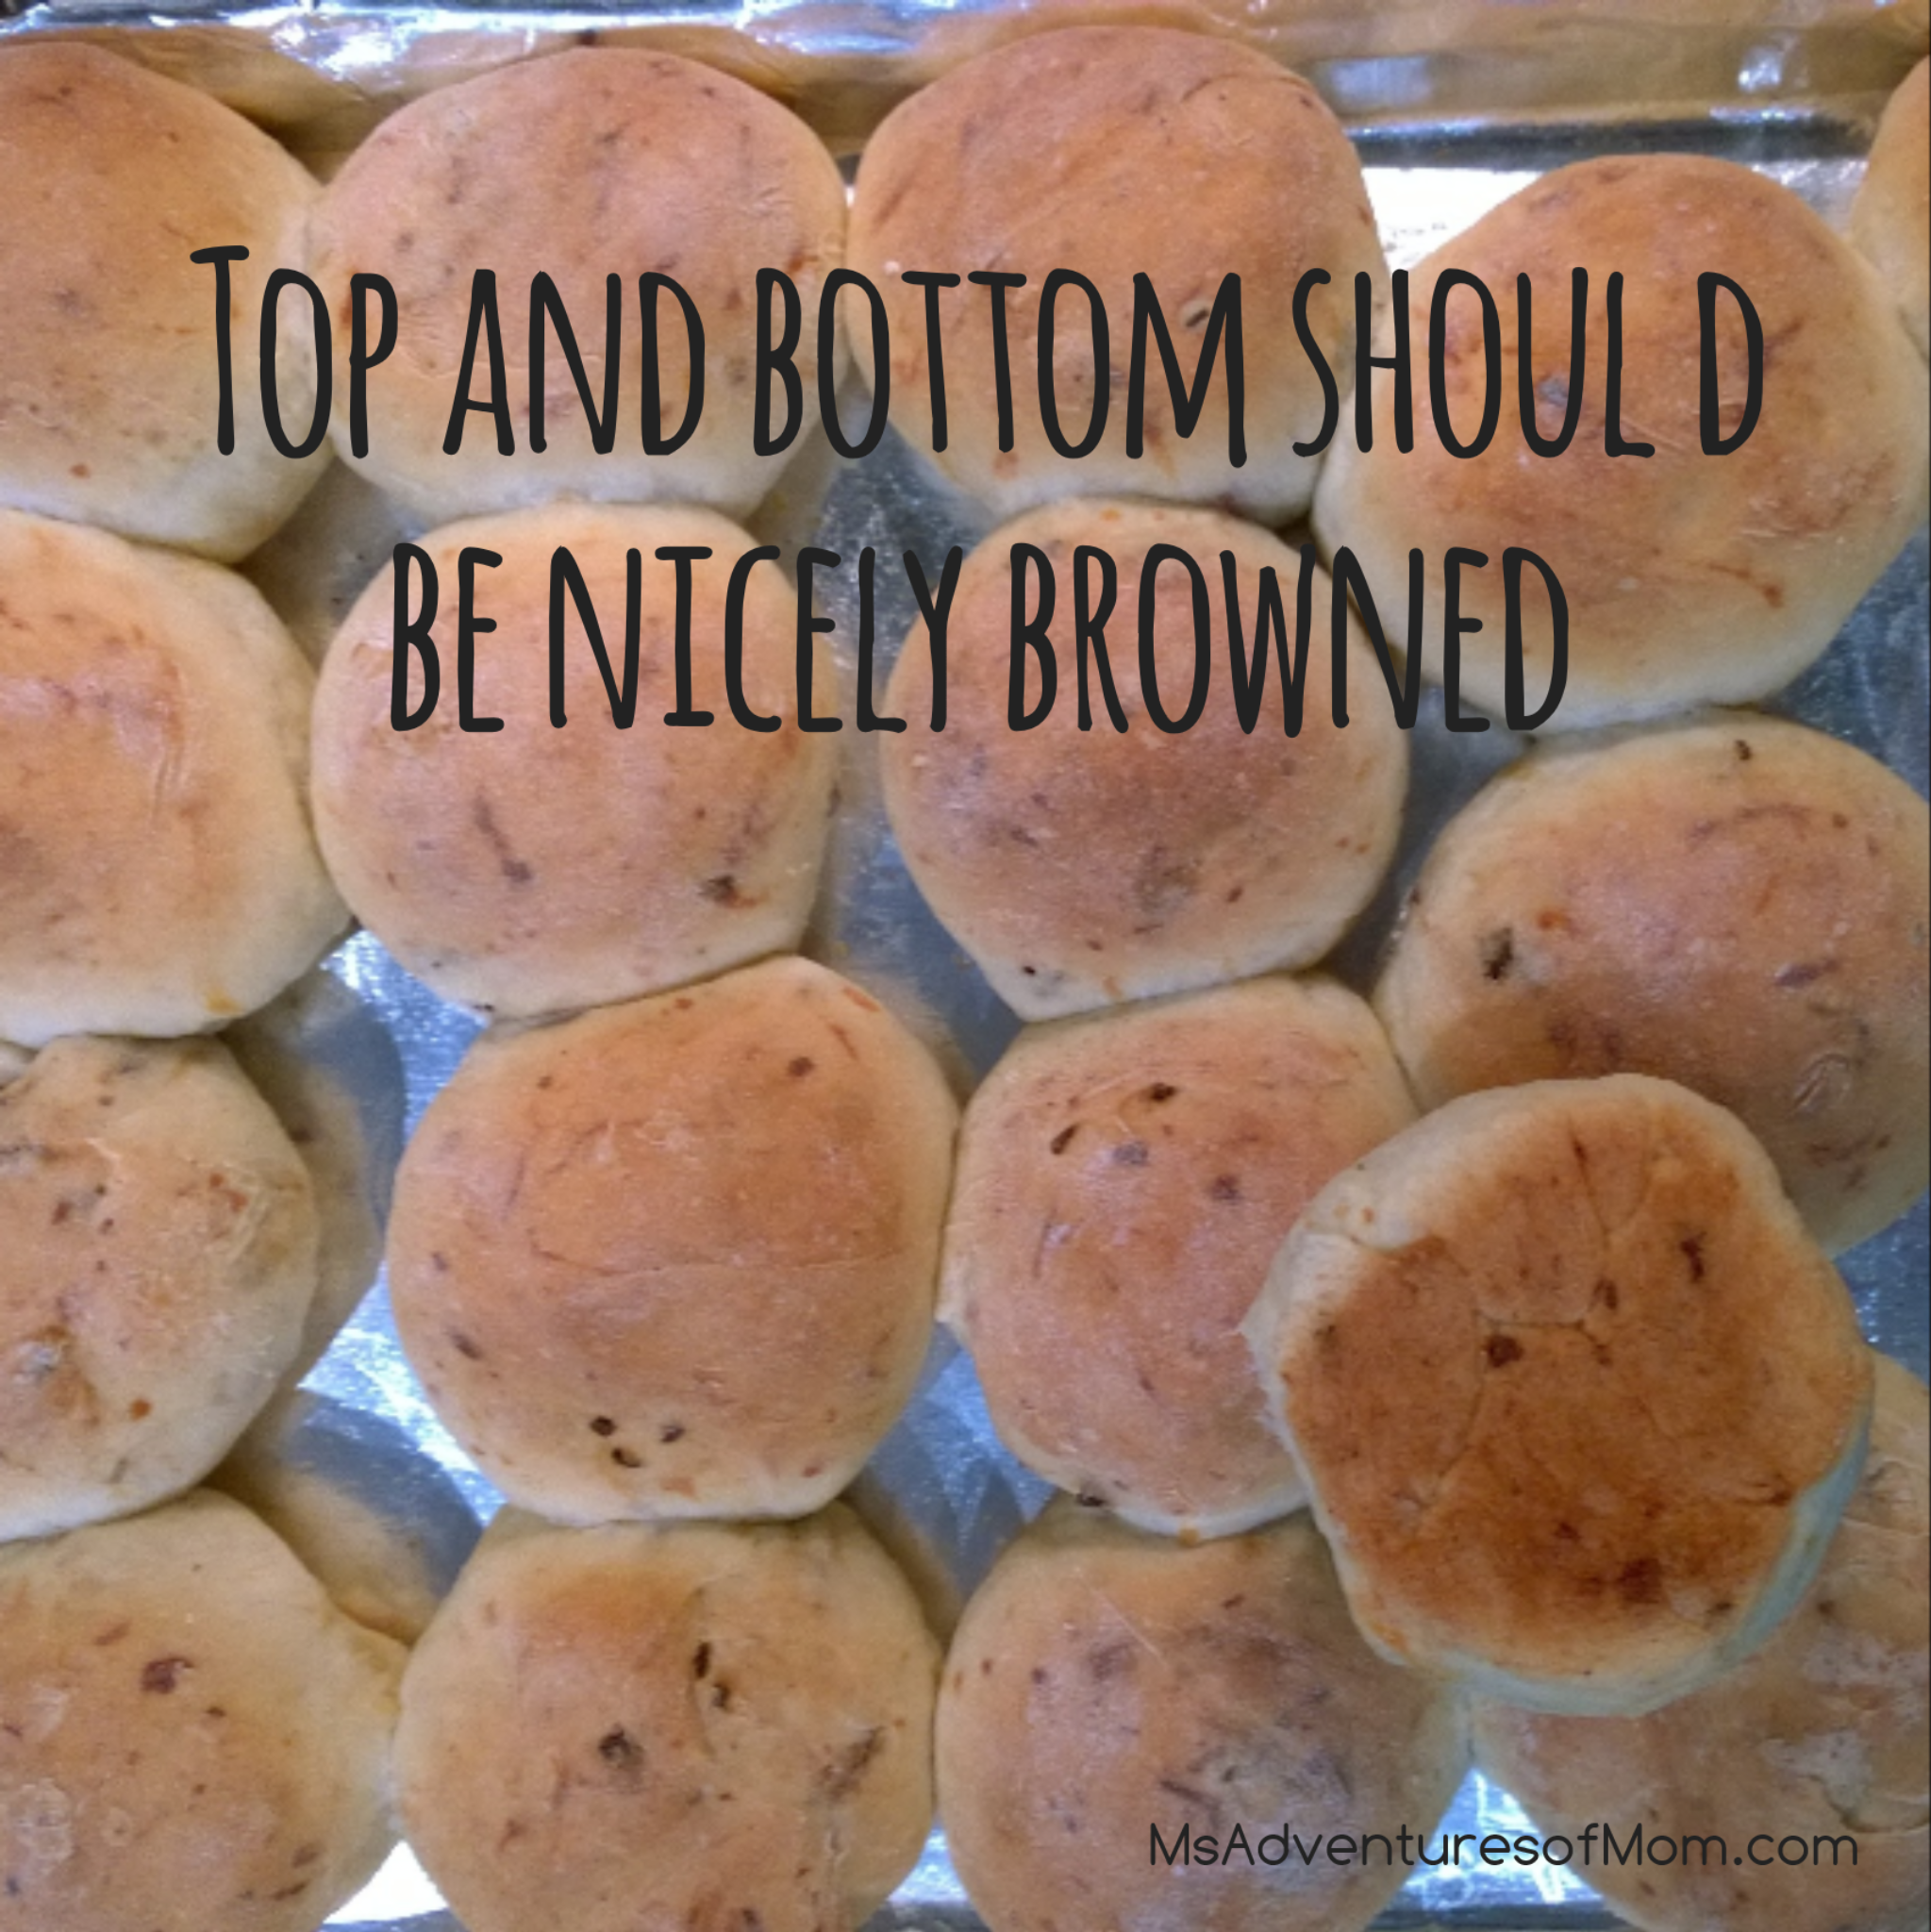
Depending on the size of the pan (mine is a 10″) the pancake may have a slightly different texture. I have had ones in restaurants that were fairly dense and much more moist. Though good, they tend to make me feel that they aren’t fully cooked. The one I made yesterday, for a birthday brunch for both my son and I, was light and fluffy! I warn you now that you may have to make more than one of these! Though they spread over a platter, you will have lots of requests for more!
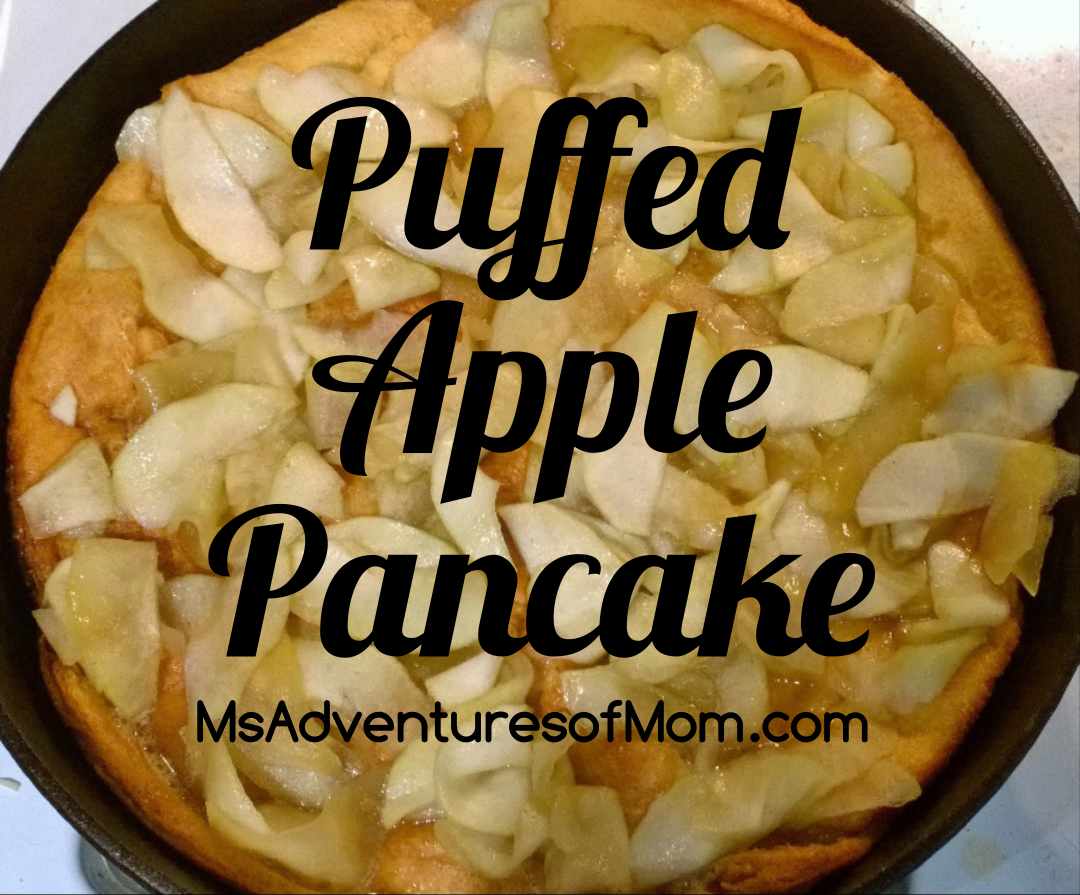
Puffed Apple Pancake
Apple Filling:
3-4 granny smith (green) apples
1/4 cup sugar
1/4 cup butter
1 teaspoon cinnamon
Dash allspice
Dash nutmeg
Pancake:
3 large eggs
3/4 cup milk
3/4 cup flour
1/4 teaspoon salt
1 1/2 – 2 tablespoons butter
Apple Filling Directions:
- Peel, core, and slice apples thin.
- Melt butter in large pan, add apples, sugar, and spices.
- Sauté, stirring frequently, until tender – about 5 to 10 minutes. Set aside until pancake is ready.
Pancake Directions:
- Preheat oven to 450 and heat large (oven proof) iron skillet over medium high, until hot but not smoking.
- Beat eggs, milk, flour, and salt with mixer until smooth.
- Melt butter in pan, tilt to coat pan.
- Add batter, quickly tilt pan to spread batter evenly, and place pan in hot oven for 15 minutes. If pancake puffs, you can break it with a fork or knife.
- After 15 minutes, turn oven temp down to 350 for an additional 10 minutes.
- Remove from oven, slide pancake to serving platter, and top with apple filling. Garnish with powdered sugar, if desired.