Ever wish you could make candy? Sounds like a dream, huh? Well, you can. I’m going to show you how.
There are many kinds of candy. Just before the holidays last year, I was looking around for something different to give out as gifts. After wallowing in the sea of recipes available online, I settled on an almond toffee. Purported to be like the golf foil wrapped sweets that your Grandma always had a pink tub of, and I loved, I couldn’t wait to try it. This recipe won’t get you the little cubed rectangles, but the taste is so delicious that you won’t mind…and neither will anyone else!
Also known as “Better Than Almond Roca Toffee”
Before you begin the actual cooking process, do yourself a favor and gather all the equipment and prepared ingredients you need. Trust me, this simple step is important to getting any recipe right. If you don’t have a jellyroll pan, candy thermometer, or sauce pan with high sides (like these examples*), I suggest you wait until you have these items available before you attempt to make this treat. Another thing I like to use when cooking and baking are silicone spatulas. They stand up well to high heat, move the food around efficiently, and are easy to scrape excess candy and chocolate off of in a hurry.
Once you’ve gotten your equipment together (including a microwavable safe bowl, teaspoon, and heavy duty aluminum foil,) you’ll want to make sure you have all your ingredients on hand and ready to use. Why is this so important, you ask? Well, not only does it ensure you have all the ingredients you need, but you will be able to move from step to step without stopping to look for or prepare the next item. I cannot tell you how many recipes I have nearly, or completely, ruined by not being fully prepared before beginning.
Ingredients:
2-3 cups chopped almonds (about 16 ounces whole almonds, roasted and chopped)
16 oz. light brown sugar (small package)
1 pound butter (4 sticks)
24 oz. chocolate chips (2 bags)
Let me pause for a moment to talk about the almonds. When I was shopping for the ingredients that first time, I couldn’t find package of unsalted, roasted almonds available at the store (this was during the holidays, after all) and didn’t want to wait until the farmer’s market day in our area. I refused to use salted ones, and the only other type I could find were raw almonds. “How hard could roasting almonds be?” I thought and threw the bag in my cart. Boy was I right! Not only that, but roasting the almonds yourself is an amazing experience! This is the method I used for roasting:
http://elanaspantry.com/how-to-roast-almonds/
As for chopping, I just whirled them around in my blender. Yes, much of it pulverized into dust, but that worked out for the best. The chunks give it some grip, but the tiniest particles created a coating for all the nook and crannies in the chocolate.
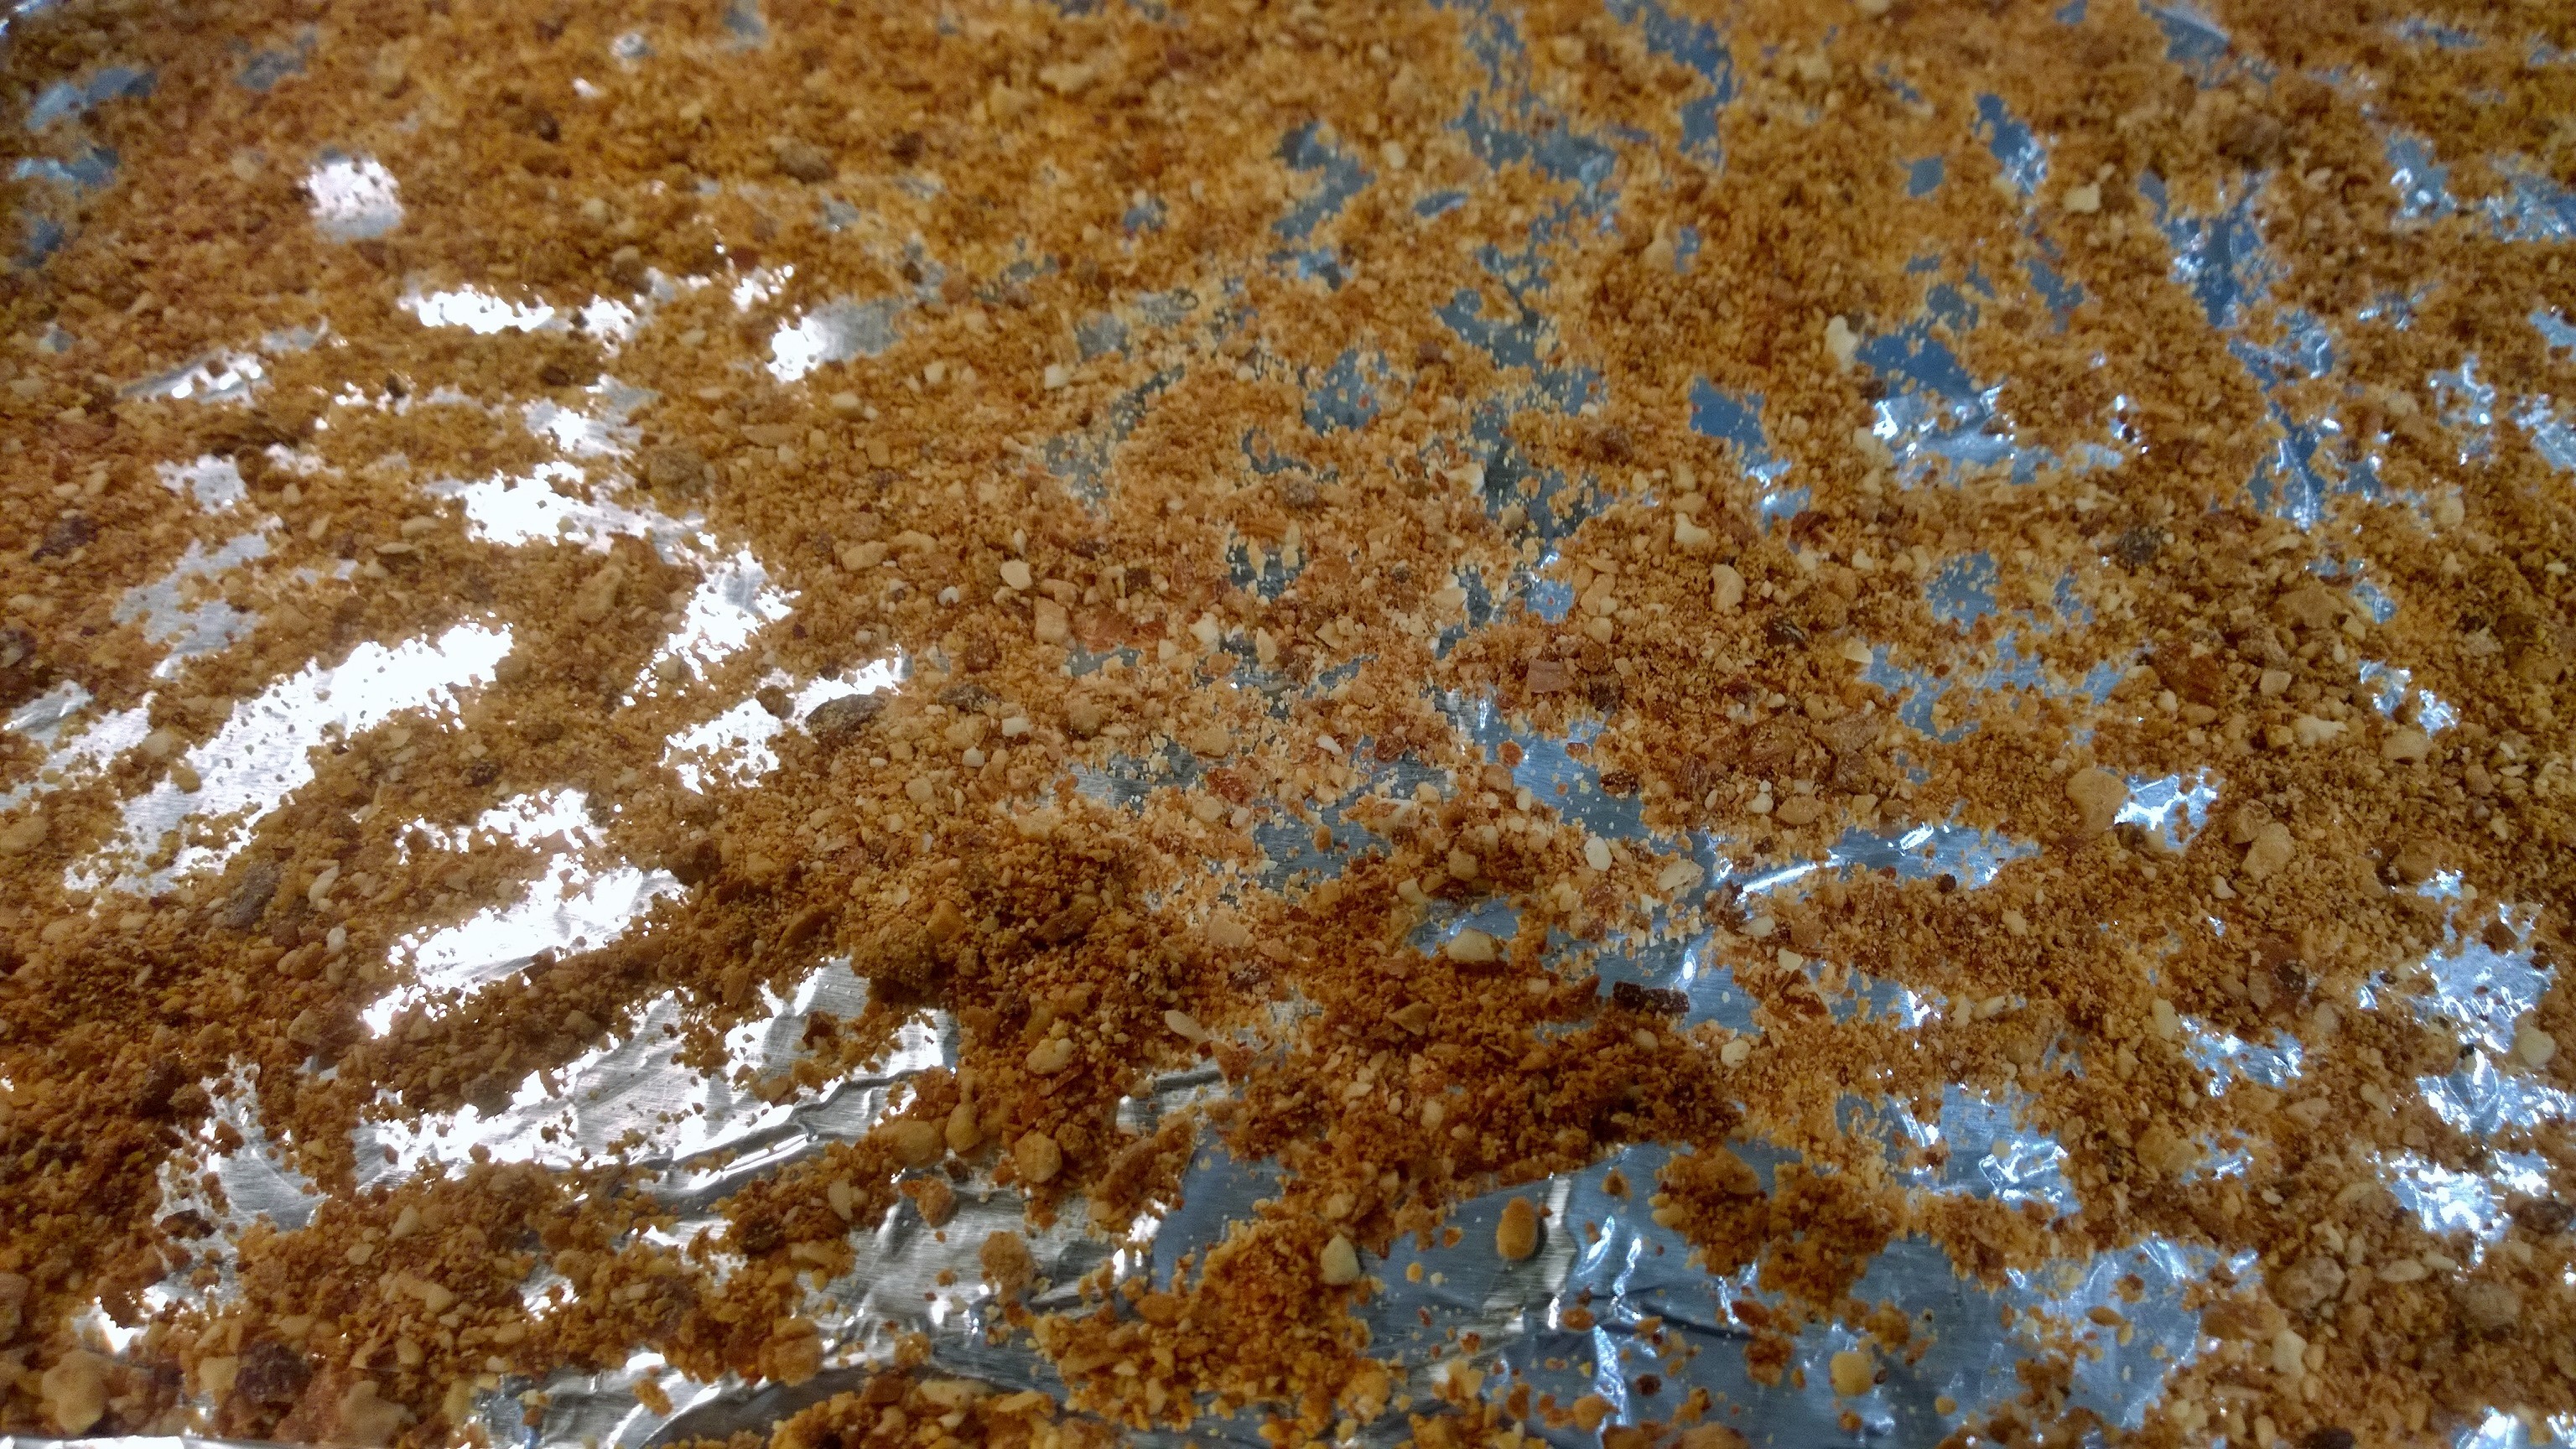
Now, to get cooking! Take your jellyroll pan and cover it in foil. You’ll want a big enough piece to completely cover the pan, including the sides. Carefully smooth the foil over the bottom of the pan, into the corners, and up over the sides. Scoop out about 3/4 to 1 cup of the almonds and spread them evenly in the prepared pan.
Place the butter in the saucepan, and clip the candy thermometer to the side. When the butter has melted over a med-high heat, add the brown sugar and stir, stir, stir! I’m not kidding, you can leave it alone for a second or two, but realistically you should treat it like an infant. Don’t take your eyes, or hands, off it for a second! The reason you want the high sides on the saucepan is because this boiling candy is HOT and you need to be stirring it constantly. No matter how careful you are, the excess oil from the butter will splash around. My candy thermometer is glass and also gets hot. It also moves around a lot while I am stirring and that can lead to problems getting a correct reading. Ideally, you want the tip to be near the bottom of the pan, but not touching. The solution I came up with is to use a pot holder to keep ahold of the top of the thermometer to keep it in place. Make sure you can see the indicator and numbers!
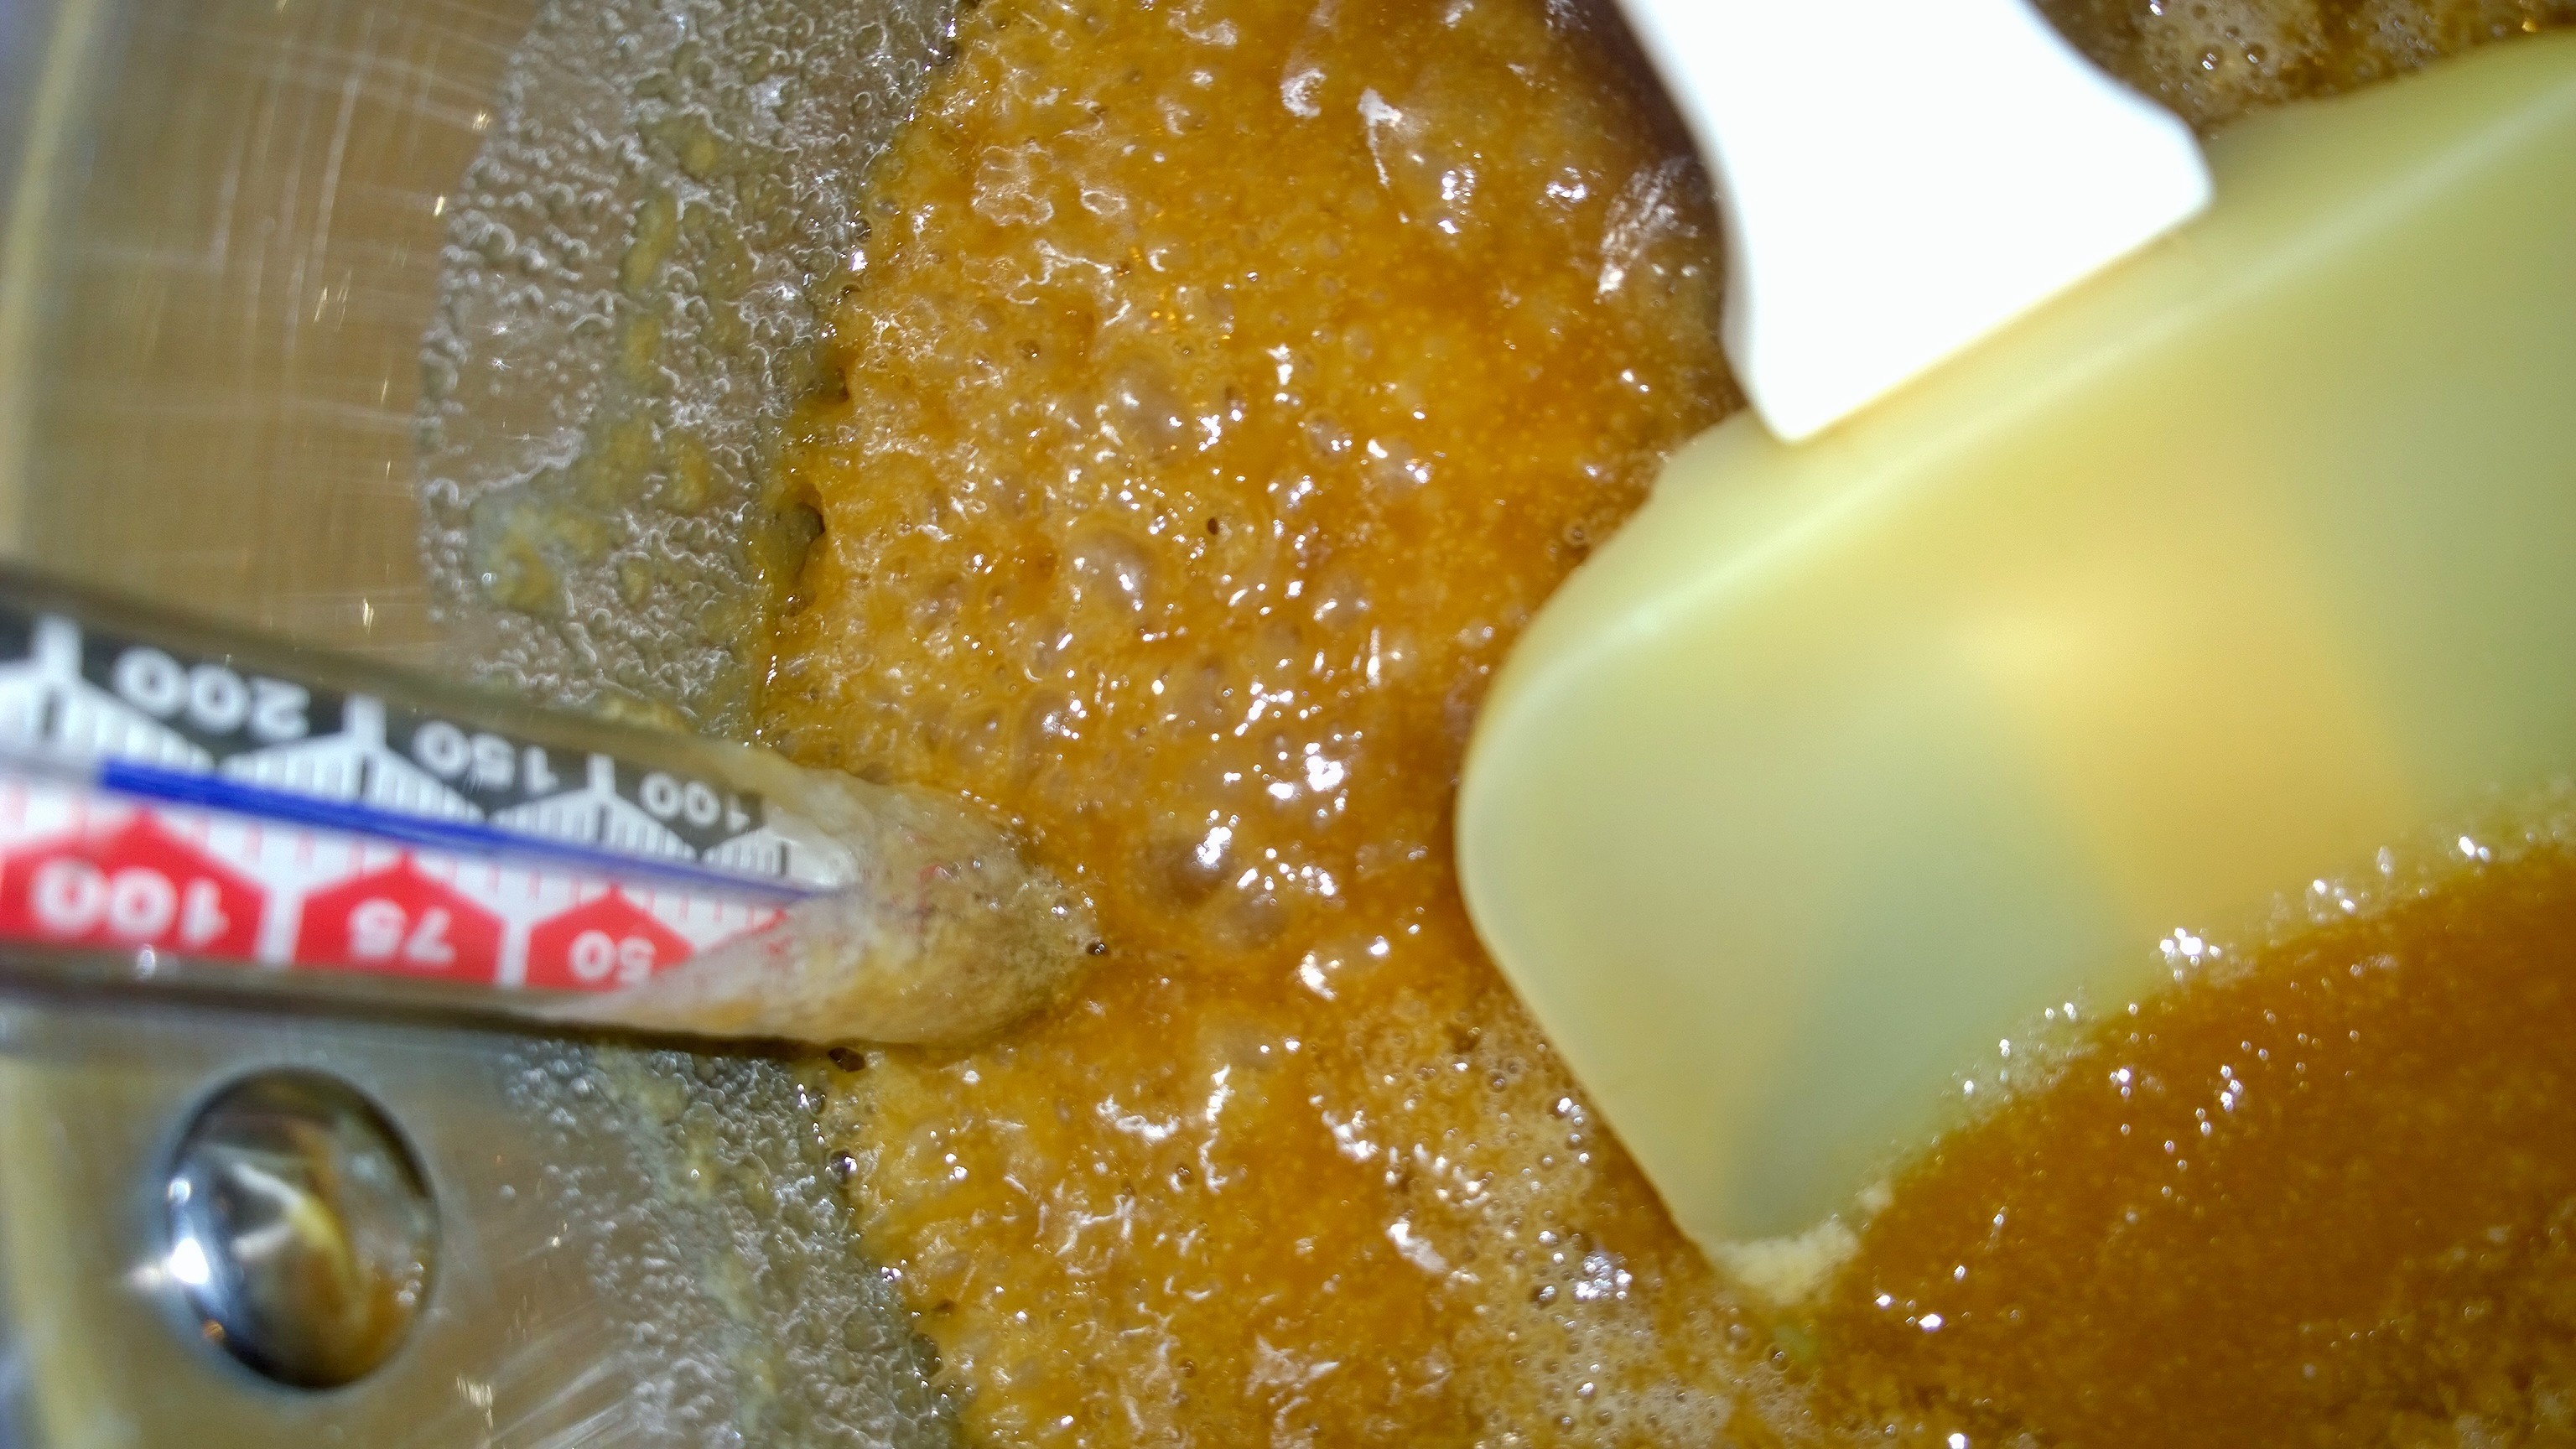
Guess what? It’s caramel!
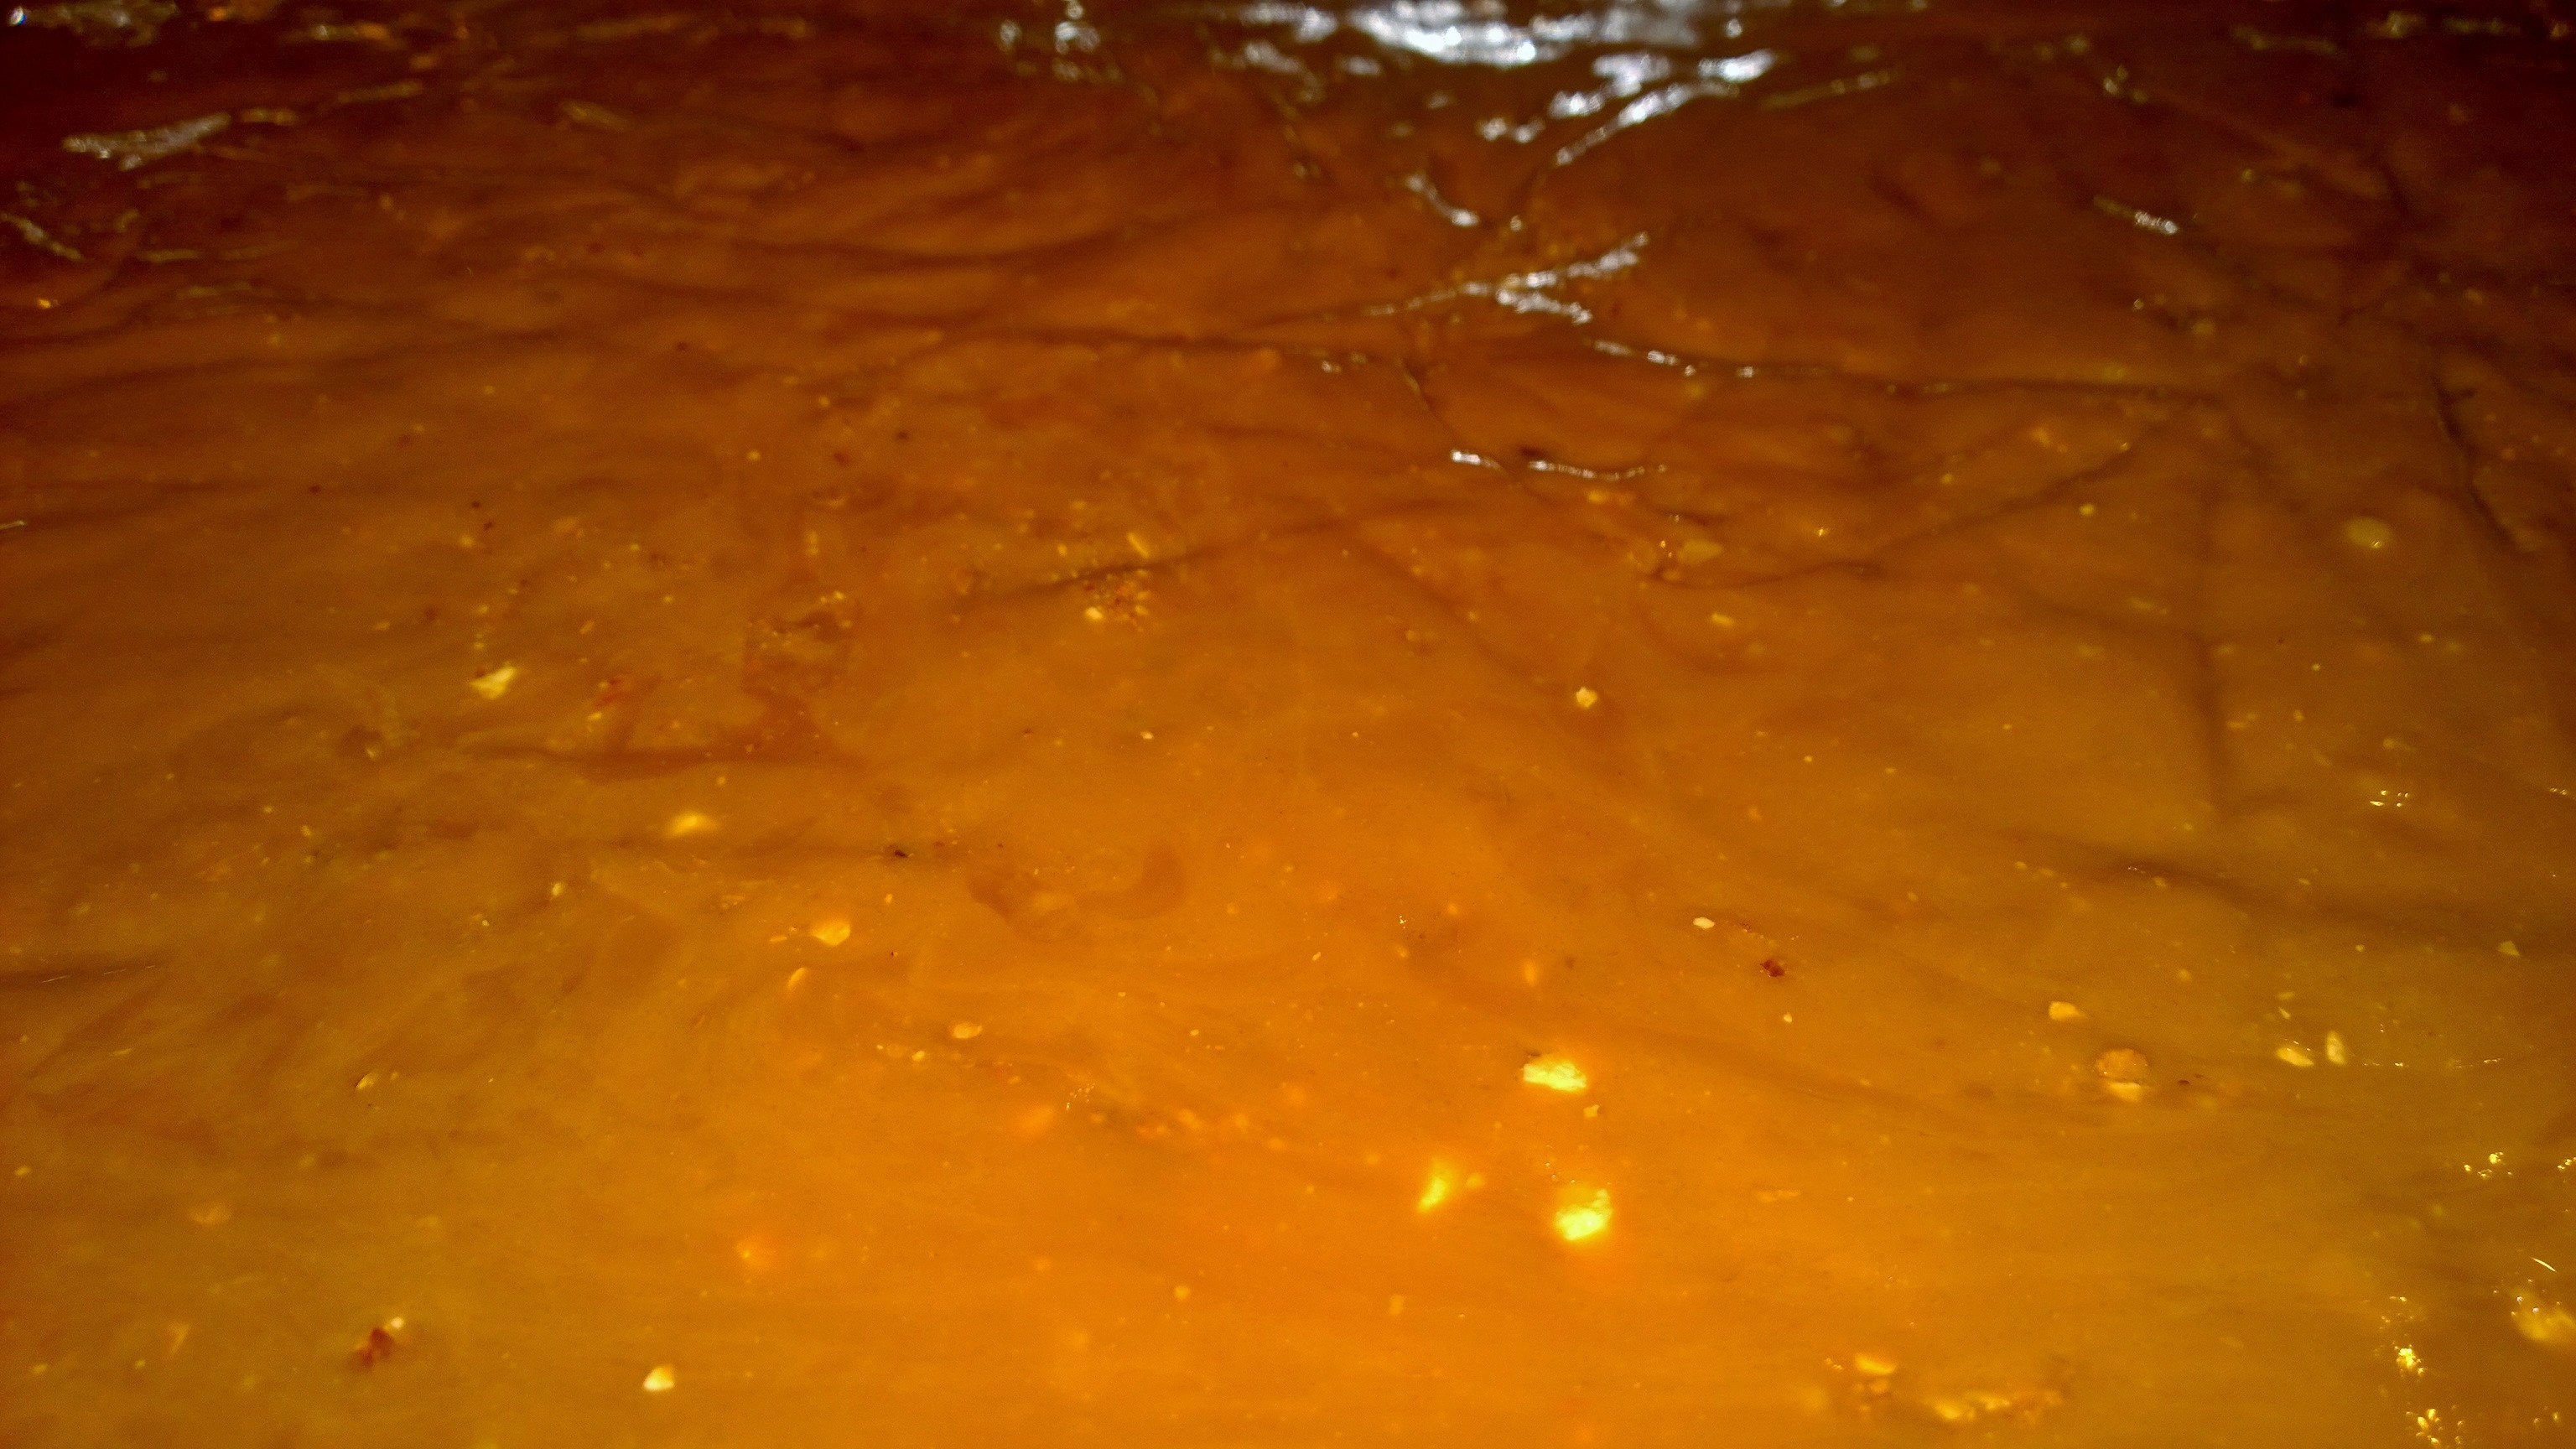
After about 10-15 minutes of boiling and stirring, your thermometer should read 280 and your toffee should look like this:

At this point, turn off the heat and continue stirring until the it reaches the golden 290 mark. Quickly unclip the candy thermometer and set aside. I like to scrape the bulk of the molten candy off as I can back into the pan and place the thermometer in a tall, heavy glass filled with hot water. However you do it, you must do it quickly, as the candy will continue cooking while in the pan and start to harden as it cools. Pour the candy the almonds in the pan. The goal is to get the toffee on the pan, don’t worry about spreading it out at this point. Take a second here to really scrape as much of the mixture out of the sauce pan as possible. You won’t get another chance before it hardens. Now you want to smooth it out over the nut pieces and all the way to the edges. Make sure it’s even and fills in each corner. It doesn’t have to be precise and can show bits of almond, as long as it covers the entire bottom of the pan.
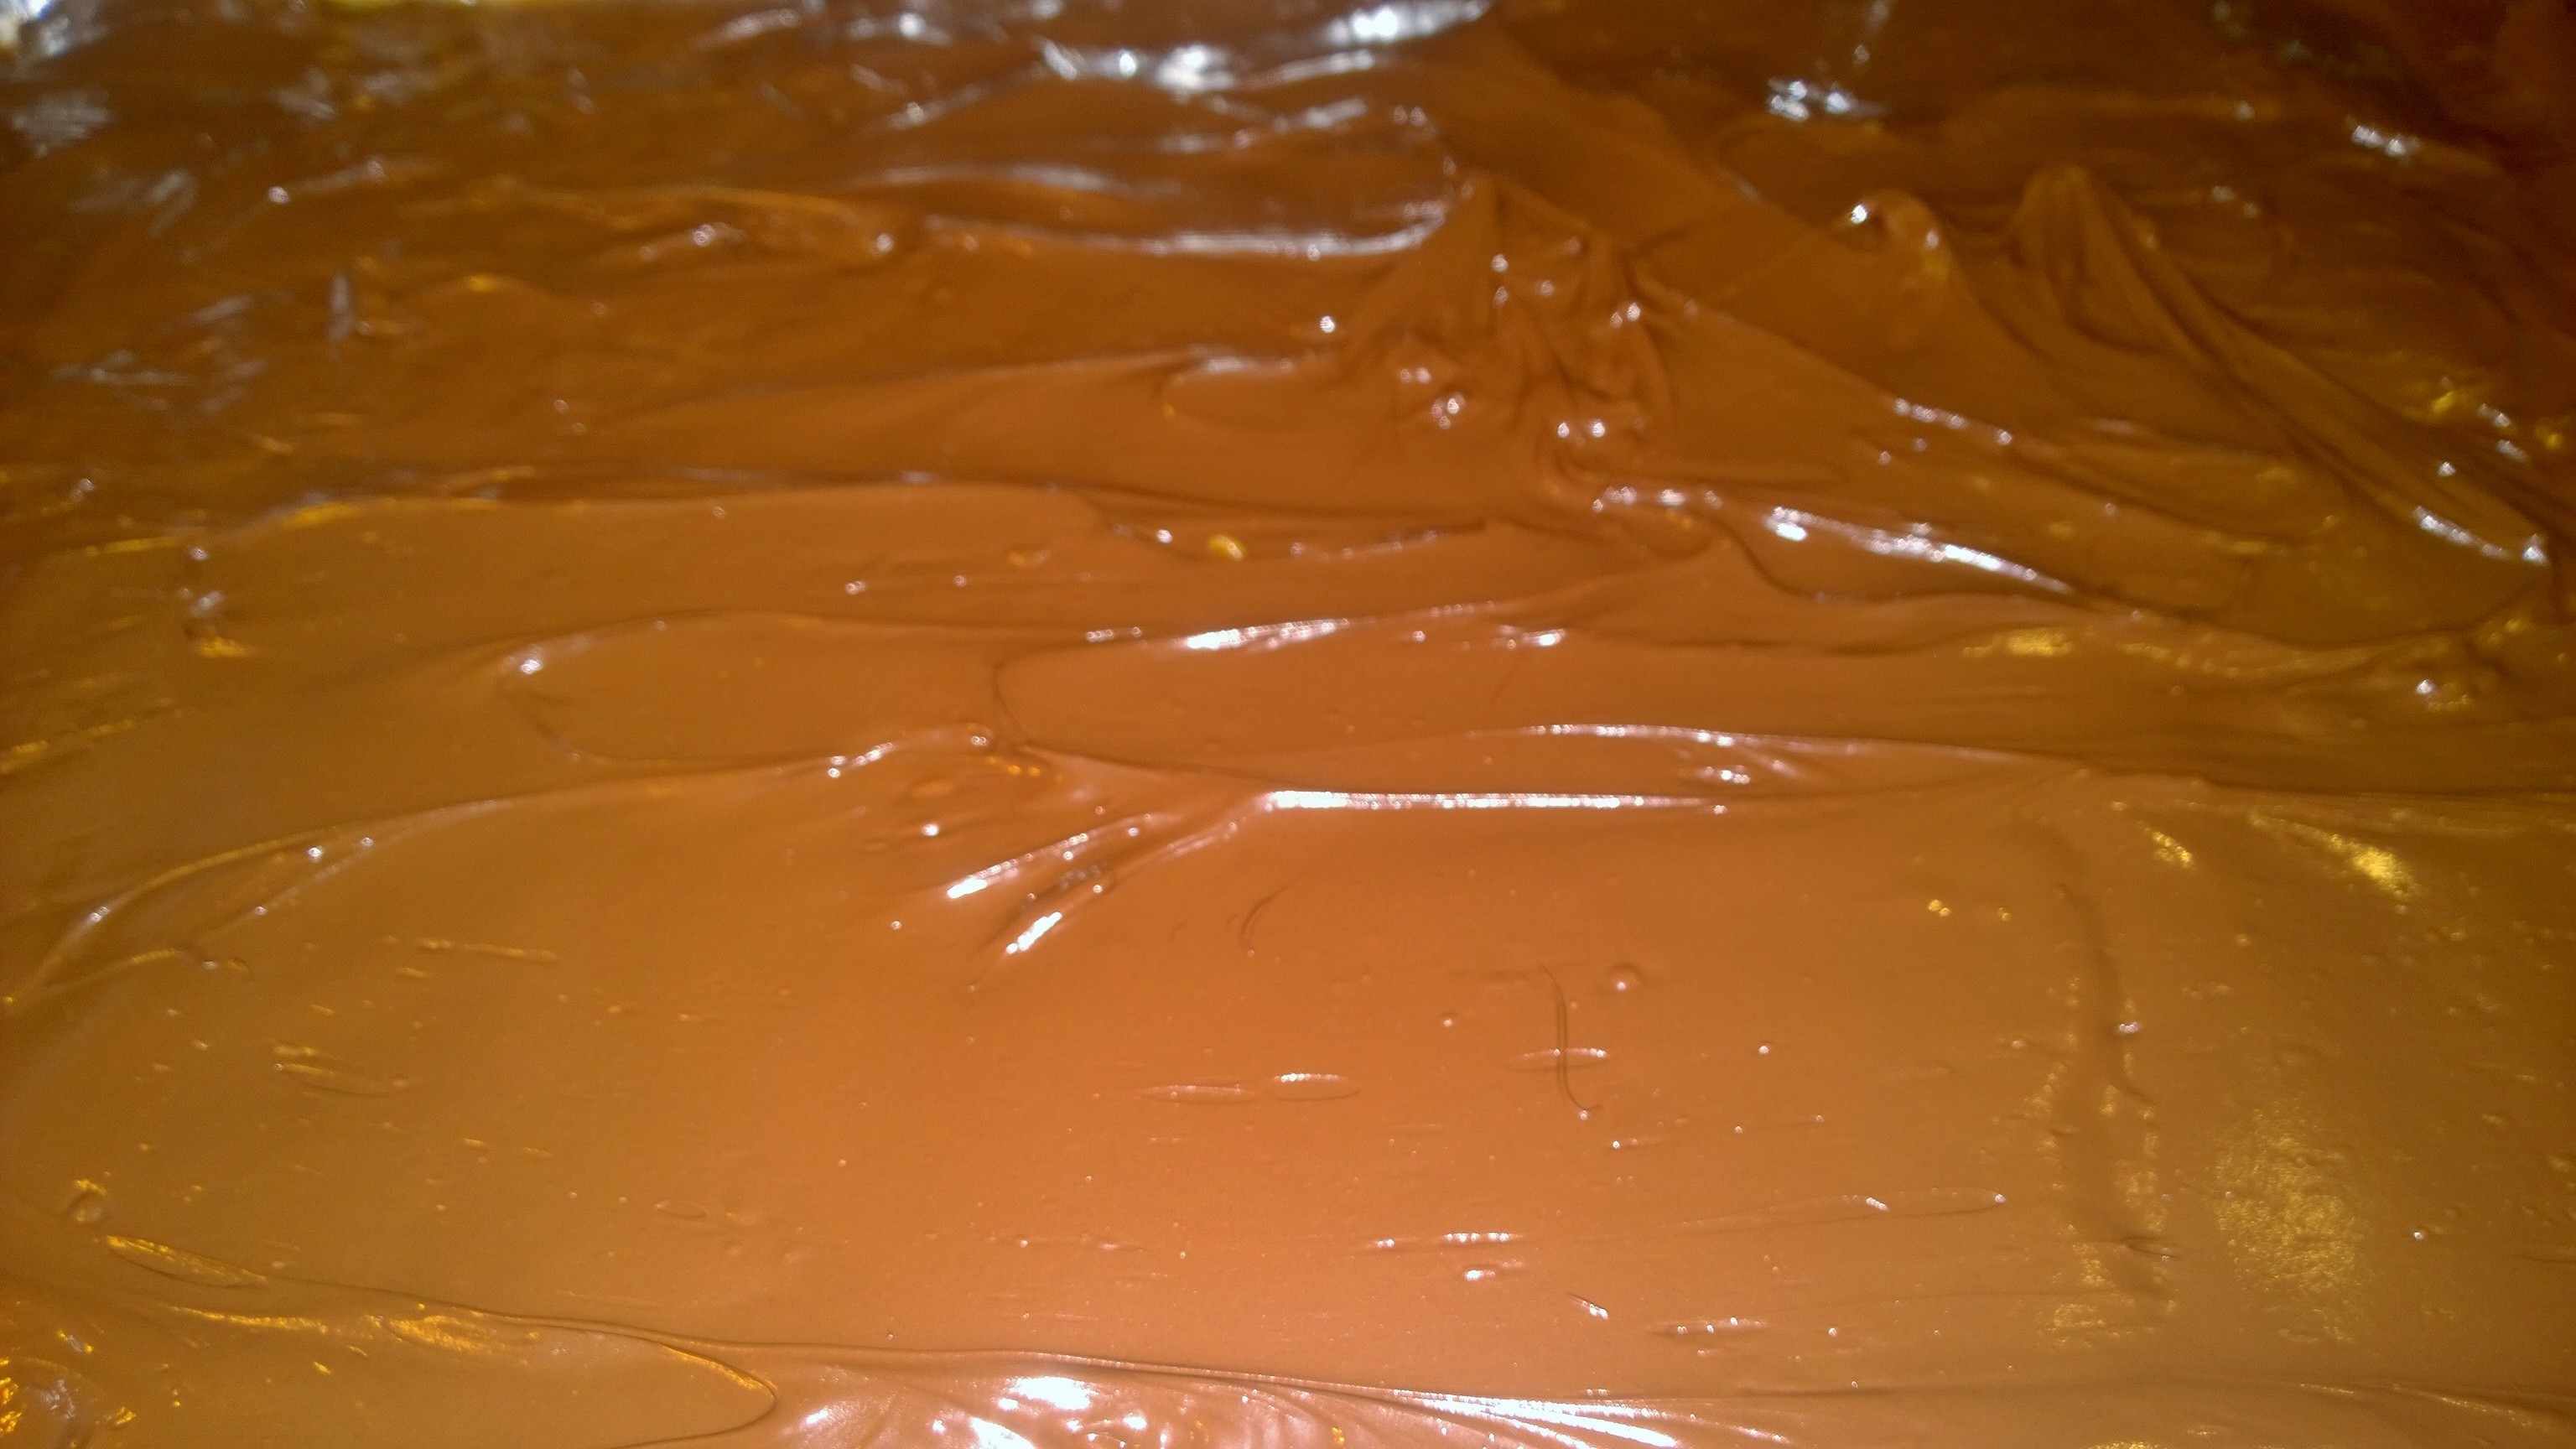
You can now set the pan aside, and put the bowl of chocolate chips and oil into the microwave. Start with 30 seconds, stir, zap another 30 seconds, stir again. Repeat until the chocolate is almost completely melted and stir until totally smooth. Scrape the chocolate into the top of the toffee layer and spread evenly over the candy.
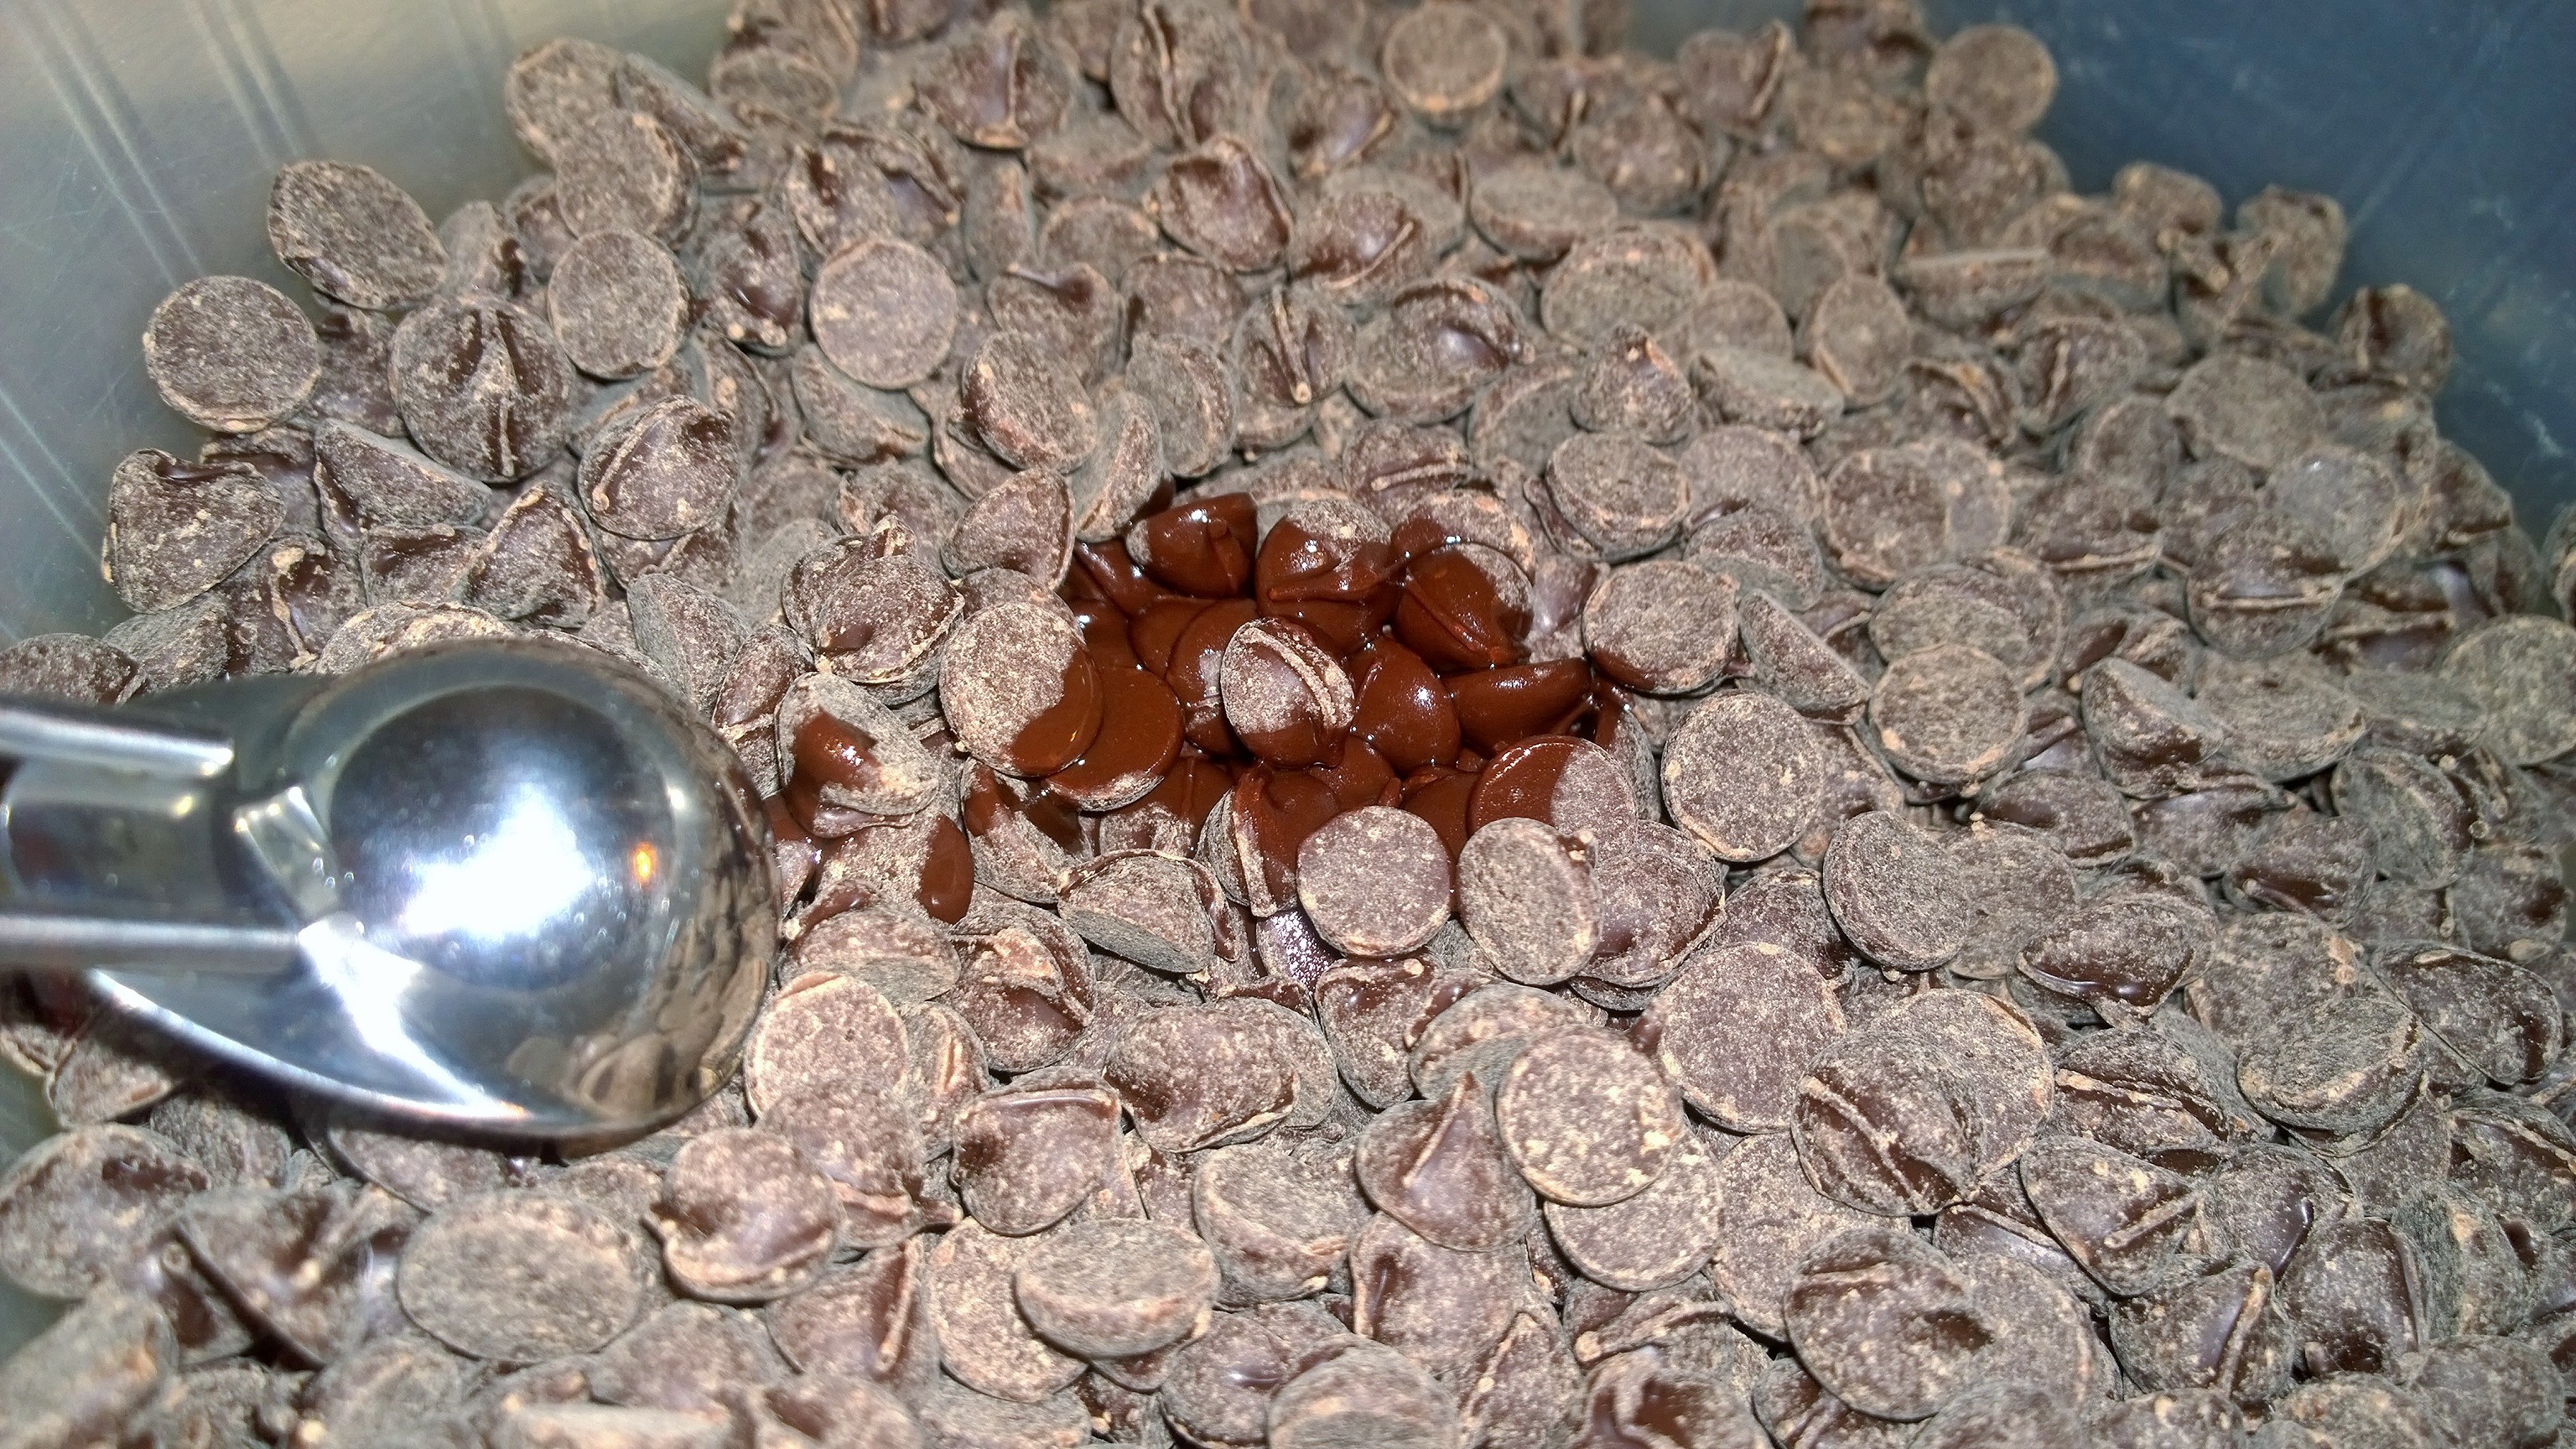
Chalky chocolate will come out smooth and silky
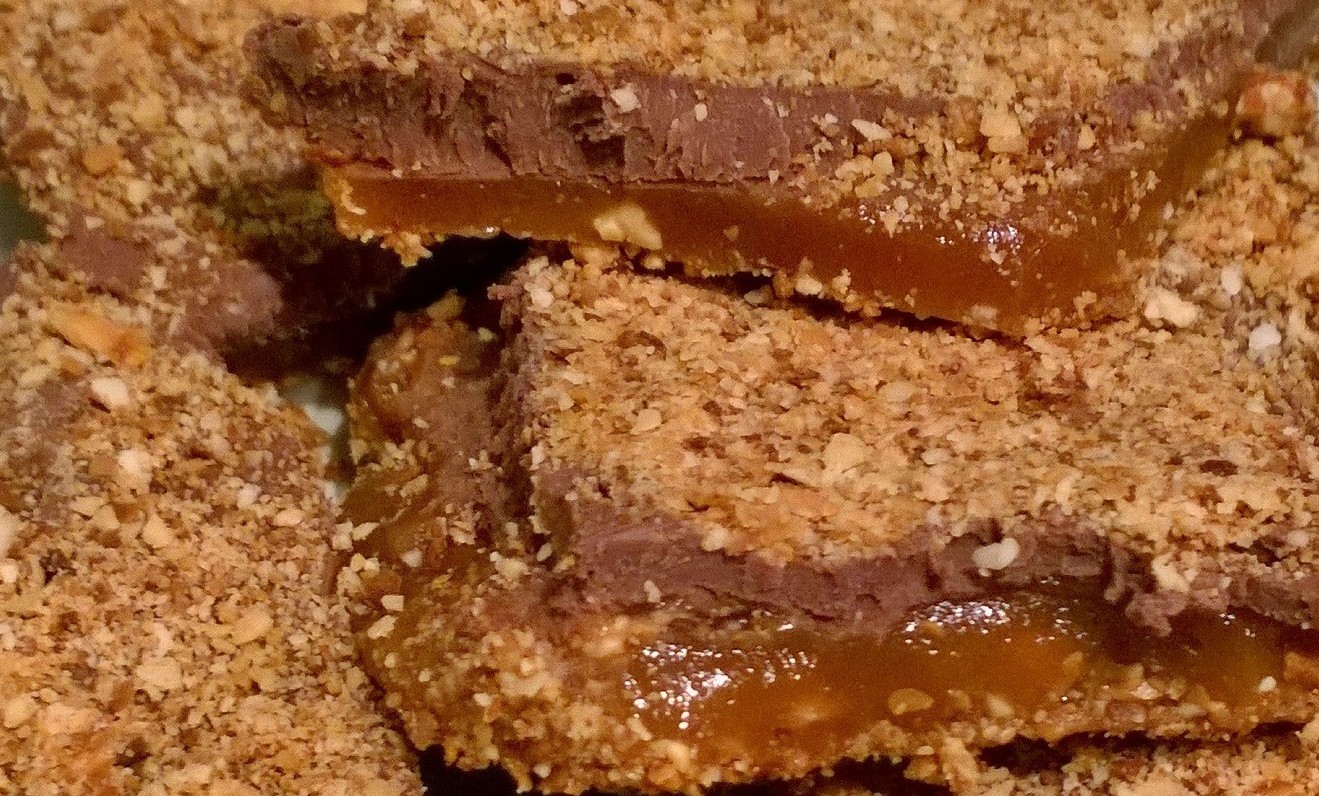
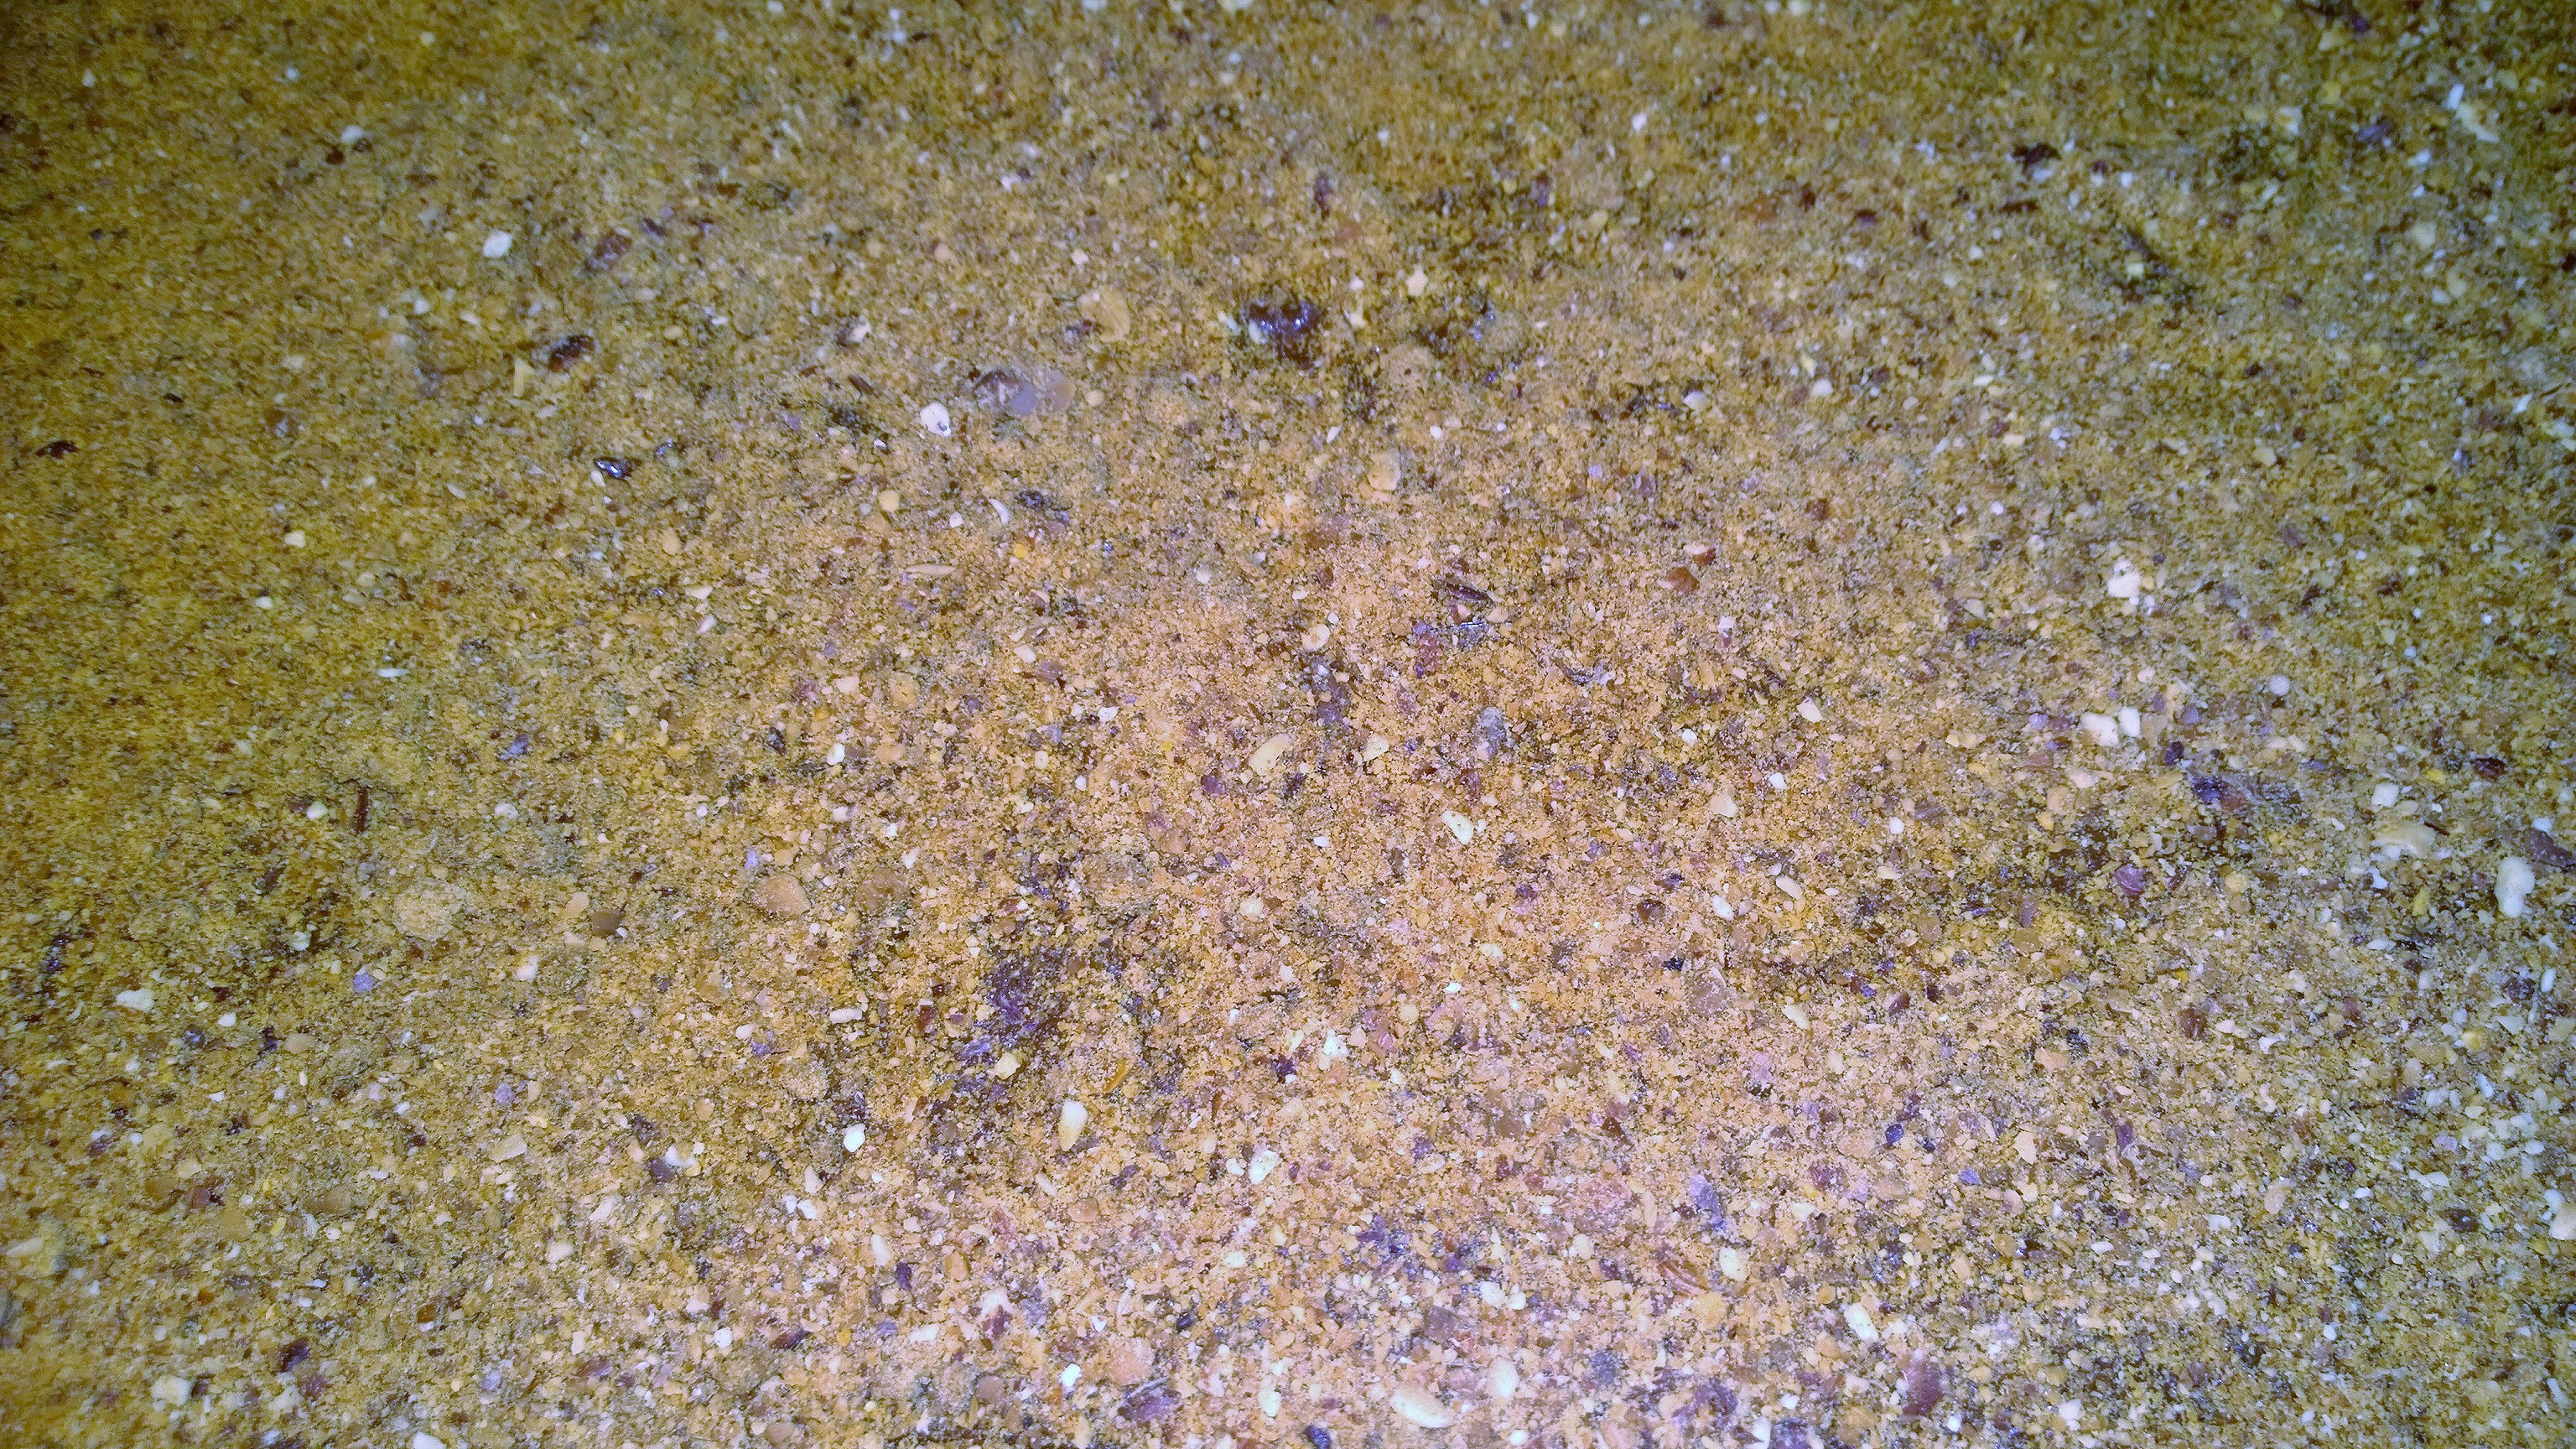
Take the rest of the almonds and sprinkle over the chocolate layer. Don’t hold back, pour that stuff on like pixie dust as you will get some back for the next batch when you break it up.
I will admit that this next step is the hardest part; waiting a few hours for the layers to cool and set so you can break it up into bite sized chunks. Place the pan on a very large or a couple smaller cooling racks for at least 3-4 hours or until the pan is cool, then break into pieces. The foil becomes very handy here as you can lift the whole piece out of the pan and bend to break (the foil will come away when broken) or use a knife to break into small shapes. Personally, I like using my hands as the chocolate may want to break away from the candy. Go slow and press, rather than break.
This recipe makes about 2 pounds of candy, which will keep for a couple weeks in an airtight container…if left alone that long. Not that we know what that’s like around here. Don’t take my word for it though, try making the candy that people who hate Almond Roca love, for yourself.
*Not endorsed by any particular brand or service.